
Multi-factor authentication is widely used today and should be standard for all companies and individuals. But what if the configured MFA device is lost or broken? Microsoft's Authenticator App offers a practical, simple and secure solution to this problem through cloud backup of the MFA configuration. With it you can easily backup your existing MFA configuration. This article shows how to activate the backup, add another MFA device, load the backup data and remove the lost or broken device. And all of this can be done very easily in a few steps.
Save MFA configuration
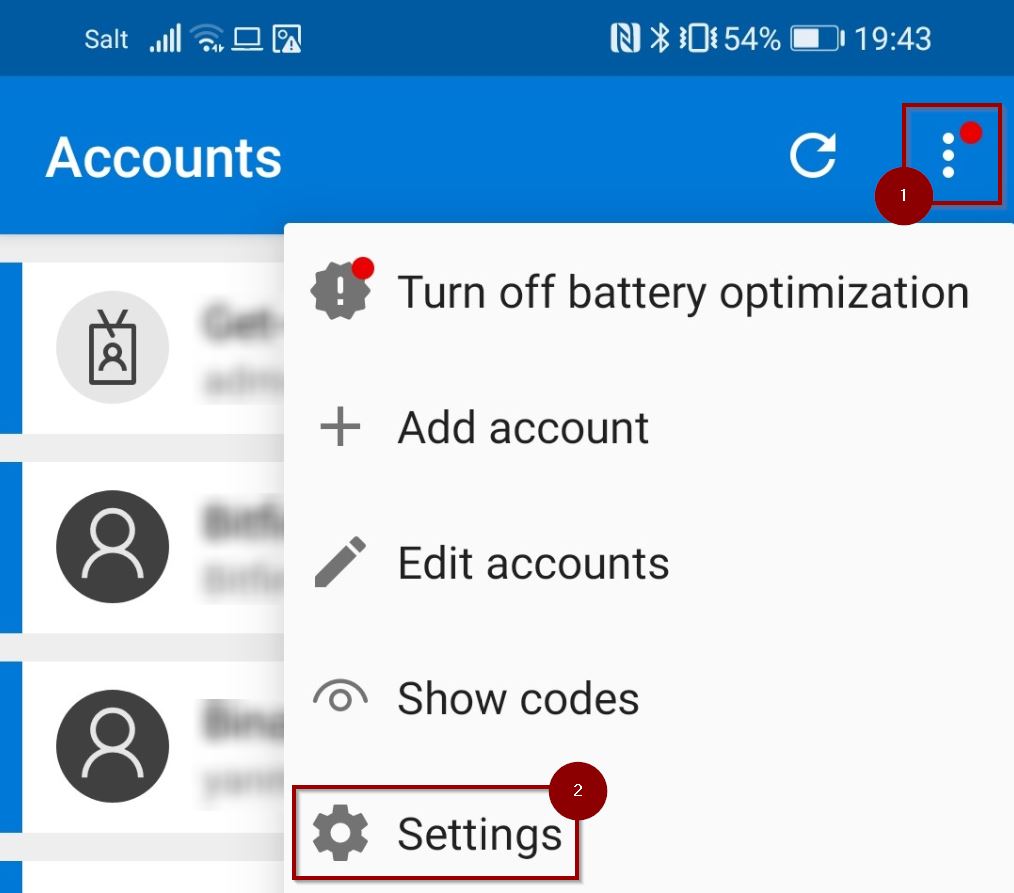
First you should save your MFA configuration. This simplifies the later recovery process, where you can easily reload the basic configuration. So it is recommended to activate this backup right from the beginning, before you want or need to change the MFA device. To do this, simply select the three items in the top right corner of Microsoft's Authenticator App and navigate to the settings.
Navigate to the "Backup" section in the settings and activate the "Cloud backup" switch (for iOS "iCloud backup"). You will now be asked for your Microsoft account with which you want to save your configuration (for iOS use your iCloud account). Log in with this account and confirm or execute the backup. The Settings menu will then show that you have successfully added a "Recovery account". Under "Details" you can see if and when the last backup was done.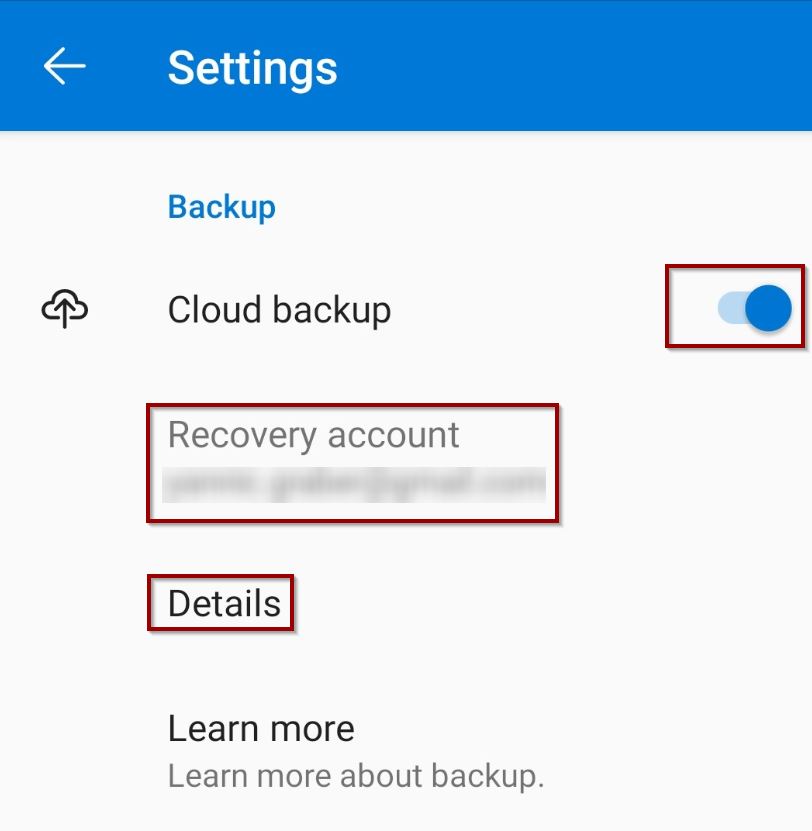
Congratulations! You have successfully linked and saved your MFA configuration with your Live ID.
Add new MFA device and load MFA configuration
Since you have already linked and backed up your MFA configuration from your existing MFA device to your Microsoft account (or iCloud account), you can easily add another device. For certain accounts, device verification actions are required afterwards, but all in due course.
Load MFA configuration on the additional device
If not already done, first install the Authenticator App on the device to be added. If the app is already installed, make sure that no Microsoft (or iCloud) account is already registered. This will ensure that you do not overwrite any existing configuration. If no account is already connected, select "Begin recovery" to load your backup.
The app will now ask you for your account with which you performed the backup. Log in with it and the app will load your configuration to the device. You have now successfully added another device.
Perform further actions for verification
However, you will find that some accounts require further action to verify the accounts.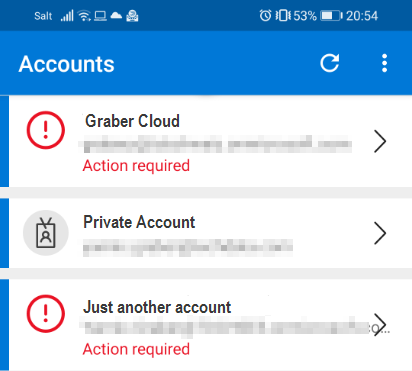
These accounts require you to scan the QR code provided by the organization to finally restore the configuration. The following example shows how you can do this with your Azure / Office 365 account.
Open https://myaccount.microsoft.com/ in the browser of your choice. Then log in with the account you want to verify and select "Security info" on the left side.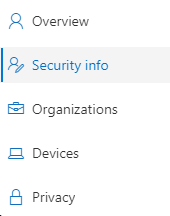
Both your default login method and your additional methods are now displayed. To verify your additional device, click on "Add method".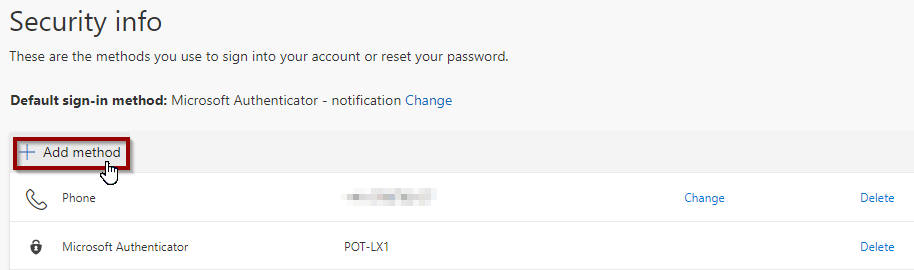
Now select the desired additional method. In this scenario, you want to share another Authenticator app with the account, namely this one from your additional or new device.

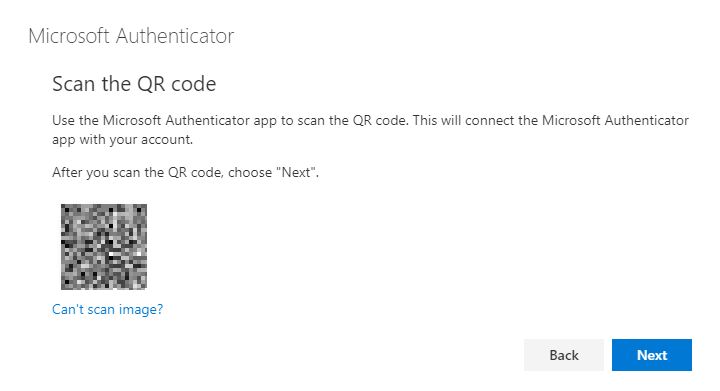
Confirm the following two messages with "Next" after you have read them. Now you will be provided with the desired QR Code, which you can scan with the Authenticator App and complete the verification.
If successful, you will now see an additional Authenticator App in the portal! Congratulations!

Optionally, you can also remove existing devices or methods here. If your MFA device has been stolen, this is strongly recommended!
Source:
https://docs.microsoft.com/en-us/azure/active-directory/user-help/user-help-auth-app-backup-recovery

Gerade entdeckt: Microsoft ändert in Kürze das Vorgehen und ermöglichst ein Backup in der iCloud:
https://www.cloudkaffee.ch/microsoft-365/backup-und-restore-microsoft-authenticator-app/
Vielen Dank für den Hinweis. Ich habe das gerade mal ausprobiert (Azure-Hybrid, MS365, Apple Businessmanager, verwaltete Apple-IDs, verwaltete Unternehmensgeräte): Leider werde ich nach Aktivieren des Cloud Backups aufgefordert, ein Microsoft-Konto anzugeben. Müsste ich also für jeden Benutzer noch extra ein Microsoft-Konto anlegen?
Wenn ich dich richtig verstehe…
Nein, du brauchst ein einziges Microsoft Konto, welches für das Cloud-Backup verwendet werden soll. Das Konto ist Persönlich.
Somit ja, wenn du mit «jeden Benutzer» meinst, dass für jede Person ein solcher Account angelegt werden muss. Dann ist das korrekt, liegt aber in der Hand des Benutzenden. Denn wie gesagt, handelt es sich um einen persönlichen Account und sichert auch andere, nicht Microsoft MFA Verbindungen.
Ich habe das Problem, dass ich mich im Geschäftlichen Account ohne 2. Faktor nicht mehr anmelden kann und nach Gerätewechsel im Authenticator die «Aktion erforderlich» Meldung steht. (Account ist der Admin Account, d.h. ich hab keinen zweiten Admin, an den ich mich zur Rücksetzung wenden kann)
Anmelden kann ich mich aber ohne Authenticator nicht, da er selbst bei Account Reaktivierung den 2. Faktor will und ich mit Faktor 1 (Prüfcode an hinterlegte Mailadresse) nirgends hinkomme, wo ich das ändern oder eine andere Verifizierungsmethode einstellen kann.
Hast Du dazu evtl. einen Tipp?
Das ist natürlich ärgerlich. Da es sich um den geschäftlichen Account handelt, gibt es einen Administratoren, an den du dich wenden kannst? Oder hast du gar das alte MFA-Gerät noch?
Ansonsten sehe ich leider nur zwei Möglichkeiten.
1. Du bist noch in einem Browser mit einem gültigen Token angemeldet und kannst eine weitere MFA-Methode registrieren in deinem Profil. Anahnd deiner Beschreibung gehe ich davon aus, dass dies nicht der Fall ist.
2. Du musst dich mittels Ticket an Microsoft wenden. Das wird einige Tage in Anspruch nehmen und du wirst beweisen müssen, dass es sich auch wirklich um deinen Tenant handelt.
Ich hoffe dir damit geholfen zu haben und wünsche viel Erfolg!
Wunderbar!
Top – ich bedanke mich – hat mir sehr geholfen!
Vielen Dank für das Feedback. Freut mich sehr!
Vielen Dank für die ausführliche Beschreibung…endlich mal eine Anleitung, die zu dem Thema funktioniert.
Christine
Vielen herzlichen Dank für das positive Feedback.